Banana choc muesli bars (nut-free, gluten-free, mostly sugar-free)


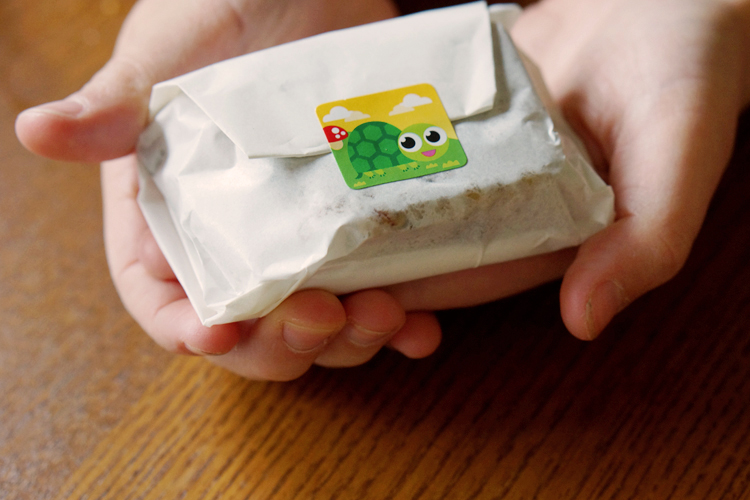
If you've ever packed a school lunch before, you'll know well the seductive allure of the brightly packaged, ready-to-go, snack-sized parcel of fun that is the muesli bar. Out of the box - into the lunch box - done! Bam! Way. Too. Convenient. But unfortunately many supermarket varieties are packed full of ingredients best left to the science class experiments, rather than being used to fuel your little professor's brain. Most are also pretty high in sugar (many well-known brands are 30%!), and many have nuts - which rules them out for nut-free environments. Making your own is actually super easy, and super cheap. I wrap ours up in grease-proof paper using fun stickers for an extra cute factor - it helps to alleviate Lunch Box Envy when the other kids whip out their shiny store-bought versions (although my man takes them to work for snacks too - I'm pretty sure his work-mates are jealous of the pretty packaging…).
INGREDIENTS
2 ripe bananas
2 cups oats*
1 cup coconut flour (or fine desiccated)
1 cup puffed rice
¾ cup butter (170gms)
½ cup rice malt syrup
¼ cup dextrose (optional, but helps it set)
1-2tp cinnamon
2tp vanilla essence
Dark chocolate (go for a high percentage like 85% or a sugar-free version)
*If you need this to be strictly gluten-free then make sure the oats are GF certified. The oats can easily be replaced with more coconut flour, rice flour or seeds. It's a fairly fool-proof recipe so mix it up and try what works for you!
Makes a lot! Depending what size you cut them, it makes approx 15-20 smallish bars.
METHOD
Preheat oven to 180℃.
Mash the bananas and then mix in all the dry ingredients (oats, coconut, rice puffs).
Gently melt butter, rice malt syrup, vanilla and dextrose over a low heat until it just begins to bubble.
Stir butter mixture into banana mixture.
Press mixture firmly into a square baking dish (approx 30cm x 20cm).
Bake for approx 20 minutes until starting to go golden.
Take out of the oven and immediately grate chocolate evenly on top (so it melts). How thick you want the chocolate is up to you!
Let it cool, then chill in the fridge before cutting into squares. Don't skip this step - they will fall apart!
Wrap individually in grease-proof paper so they are ready to roll at anytime.